Using Dreamweaver -- How to define a site
(In other words:
How to get Dreamweaver prepared to receive and work with the network of files associated with your web site)
- Logon to the computer you are working on using your TESC email username and password (This should allow you to have access to your personal folder on the BIG Evergreen Computer that will store and project your webpage to the world)
- Make a folder on your local computer (the computer you are now looking at) to temporarily store your website on.
- Launch Dreamweaver from the Applications menu.
- Establish a connection between your two accounts (i.e. the remote BIG Evergreen Computer that is storing and projecting your web page to the world, and the local desk top computer which you are working on to modify or edit the web-page)
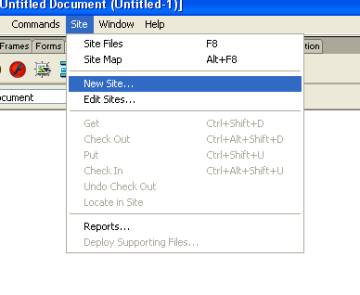
- Select Site from the menu bar of Dreamweaver
- Select New Site from that menu
FIRST: Help Dreamweaver know where you are now working (i.e. that computer you are sitting at) and where to temporarily store the website you are editing.
At this point you get the following:
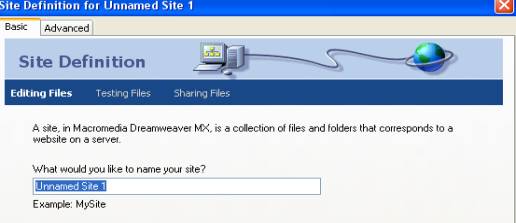
- You can name your site anything because this is only a temporary name
for this session only
- Click Next at the bottom of this menu.
- Choose the NO button and select Next at the bottom of this
menu
- On the next menu select Edit local copies..
- Click on file folder icon next the text box and find the temporary folder you just created for yourself (see #! above).
NOTE: If you don't see this window, make sure the BASIC tab is clicked (look to the right of the bouncing
above)
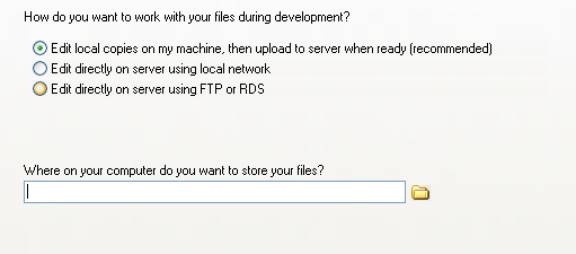
- Click on the Next button at the bottom of this menu
SECOND: Help Dreamweaver know where your web page lives (i.e. the remote BIG Evergreen Computer which you can't see right now, but that is storing and projecting your web page to the world).
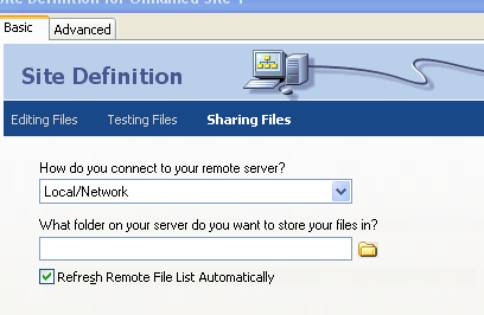
- Select Local/Network in upper pull down box
- In the lower box type in //coyote/[first letter of last name]/user
name
- For example in my case it would be //coyote/w/wieson16
- Click on Next button
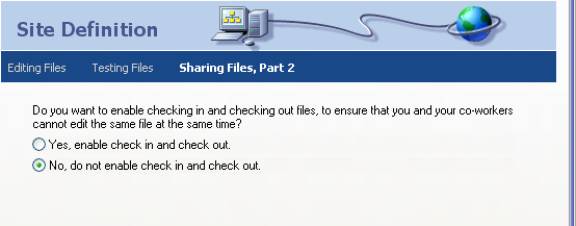 |
- Select No, do not .. at this point
- Click on Next button.
- Click on Done button on text menu.
You are done connecting to your two accounts! And can now begin working on your web page
REMEMBER!!
- Save regularly
- When you are done working send your updated files back to the BIG Tesc computer, otherwise no one will benefit from the work you have just done. (How do you do that, you ask? That's what the next handout will be about )
- Unless you are working from home, remove your temporary folder from the desktop. (You don't want another student to begin posting to your website)
- When you get ready to continue editing your website, you will have to go through the above steps all over again.