User Login |
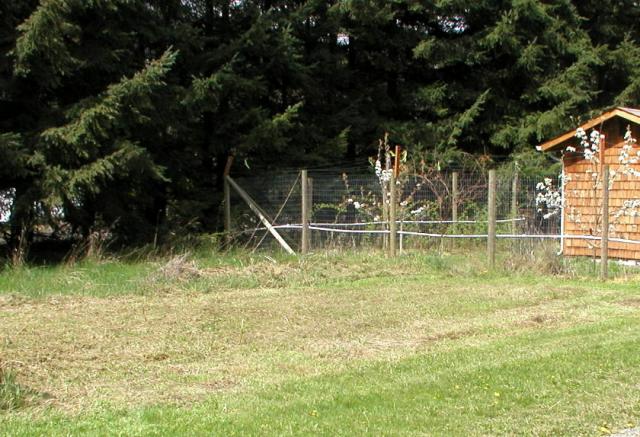
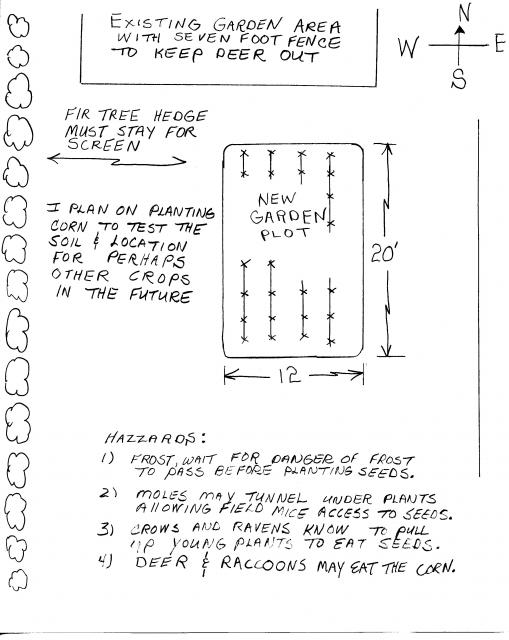
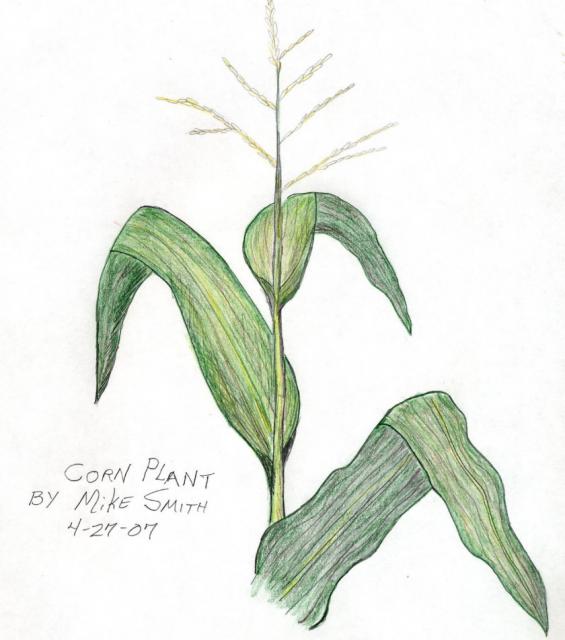
Personal GardenPersonal Garden - Spring 2007Date: April 22 Introduction: Picking a project for a personal garden was very tough. What shall we add to an already hectic schedule? I have decided to expand my own vegetable garden in order to make room for corn. I stopped eating corn a few years ago when I cut out all white foods from my diet. Last year my neighbor gave me a couple of his home grown cobs of corn, and it was pretty tasty, so I decided maybe eating corn isn’t all that bad, especially if it comes out of my own garden. Vision: The corn plant won’t be the focus of this project, but the preparation of the soil itself will be my focus. While I have made many gardens in my life time, I will be putting something different into this one. This garden site will be prepared with thought, intention, and soul. If you know anything at all about the Yelm area, you should know that it is very rocky, and most holes here are dug with a pry bar, not a shovel. So the first step will be selecting a site in my yard that receives a good deal of sun, and is close to the other garden. With out a fence, the deer may eat the corn, but the project will be more about moving forward with intention and connecting to the earth, than the final product. If I can just see the corn sprout up, I will feel successful. Garden site: After studying the area and finding no camas or other plants of interest, I mowed down the grass where I will attempt to make a small garden about twenty feet long and 12 feet wide. Corn always does best if planted in a block of at least several rows. Design: The new corn garden will be a rectangular about twenty feet long and twelve feet wide. It will be placed with the long dimensions running north and south to get the maximum exposure to the summer sun. I am planning on three to four rows of corn. I have been successful in past efforts by crowding the rows a little closer together than usually recommended, but I find that it cuts down on the hoeing and helps save water. Corn Plant Drawing April 27th Date: May 15, 2007 Mike Smith Step Two: Putting plans into actions While selecting a site for the new garden I had to take into account the following items: Ø No endangered or unique species growing in the area. Ø As much full sun as possible without removing any existing trees. Ø Proximity to the existing garden for convenience, water, and later incorporation. Once the grass had been mowed as short as it could be cut, I began tilling the soil with a Honda rear tined tiller. The first pass was just to bust up the sod and loosen up any field stones that would work loose. It’s easiest on your arms and your machine if you have the throttle at a low setting while breaking through the sod. When the tiller would bounce on a rock, I would stop it and then poke the ground with my six foot pry bar until the rock was loose enough for me to roll away from the garden area.
Ø The next step was to till the soil, stop and remove rocks. Repeated this step six times. Ø Change directions of tilling each time to help break up all areas. Also waiting for the soil to dry between tilling helps kill the grass roots that scatter the surface. This part of the preparation gave me a feeling of being closer to the earth as well as having a glimpse of what it must have been like for early settlers to just put in a vegetable garden when they first arrived to this area.
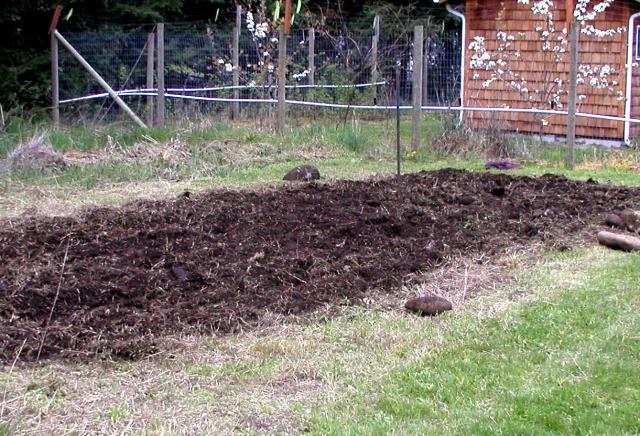
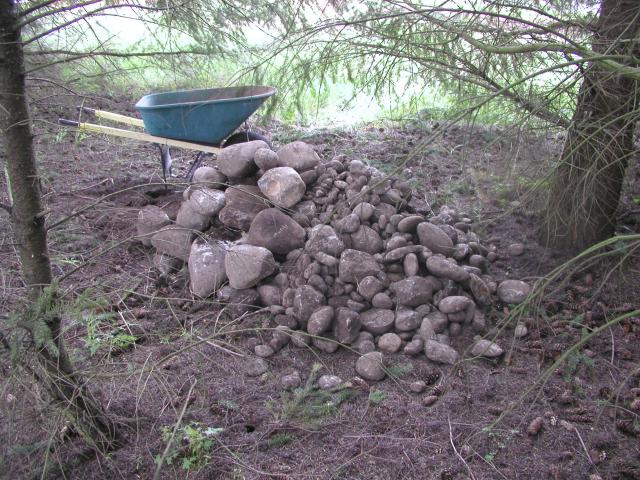
Ø Stack the field stones in a location where they are out of the way and won’t have to be moved again. Damn you Glacier! That is a lot of field stones for such a small and shallow plot. Ø Once most of the stones were clear I added about one and a half yards of mushroom compost to condition and fertilize the soil.
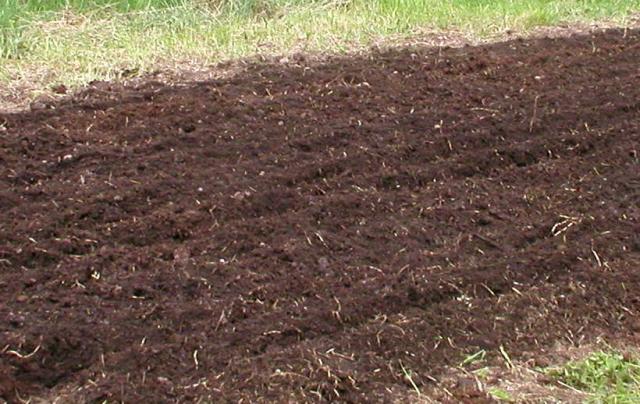
Compost added
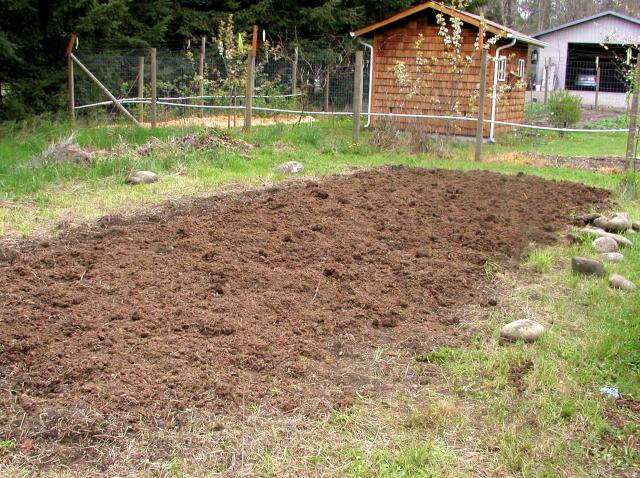
Ø After the mushroom compost dried out somewhat, it was tilled into the first six inches of soil. Three passes were made over the garden area. Nice dirt The soil is now looking more like a garden, but not as good as my established vegetable garden. It will only improve from here, and I know there will be more field stones rising to the surface in the future as the dirt compacts, and when the ground freezes, the soil is broken loose from them, and they seem to rise from the grave. There is not much left to do in this area, but wait until the weather warms up some more. I am planning on planting about three to four rows of corn but for proper germination of sweet corn the minimum soil temperature is 55 degrees and even 65 is better. Things to remember when planting corn is that it does best if planted in blocks. That way the plants get better pollination, as corn is generally pollinated by wind. The recommended spacing of rows is three feet apart. I like to crowd them somewhat to save space and water, but if you crowd them too much cob development may suffer. The corn seeds should be planted about one inch deep and each hill should be about one foot apart. The new corn garden will be a rectangular about twenty feet long and twelve feet wide. It will be placed with the long dimensions running north and south to get the maximum exposure to the summer sun. I am planning on three to four rows of corn. I have been successful in past efforts by crowding the rows a little closer together than usually recommended, but I find that it cuts down on the hoeing and helps to conserve water.
Mike Smith
categories [ Other ]
login or register to post comments | printer friendly version
|

