Week six was full of invention and trail and error. I wanted to create some of the furniture for this model from scratch but this has taken so much of more time than I had anticipated. I also continued working through my interior design book focusing this week on chapters 3 and 4. These chapters focused mainly on planning your design, building components, building materials, lighting, colors and interiors. I had already planned my design with my floor layout in week 5 so I began thinking about my building materials, I used my knowledge from my last model and decided to continue with foam board because in this scale it is easy to cut and work with. I wanted to cover my walls again because I loved the way the scrapbook paper looked and felt in my last model but thought that I might change it up by focusing on lines and textures by giving my walls a border.
I then began working on my interiors and colors. I wanted my bathroom to look clean and minimalistic so I choose to design in white and a stainless steel feel. I chose to make white as the main color in my bathroom because it represents purity and cleanliness. I decided to make the stainless steel color as my accent color because it is a dramatic contrast with white while still representing cleanliness and strength and not being to overbearing. I knew that these colors would reflect light well and were unisex enough that they could work for everyone.
I started by making my bathtub, I knew from my planning that I wanted a claw foot like tub with a wrap around shower curtain rod. I wanted it to be the main focus of the bathroom and it was going to be placed right in front of a window. I sanded, sculpted and painted my basswood then glued on smaller pieces of basswood that I made for the feet. I constructed my shower curtain rod from a wire hanger by cutting it with pliers and forming it into the shape I needed. I then drilled holes in the side of my tub as a place to secure it. I needed to make my spigot and knobs for the tub so I used clay to construct them. I wanted a standing shower as well as a moveable hand held shower head for my tub so I not only made a shower head from clay but also a cord and nozzle for the bathtub. It was then time to make my shower curtain, I decided to use a silver cloth the accentuate my stainless steal accents.
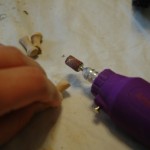
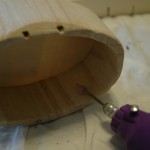
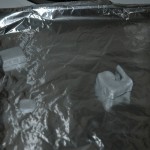
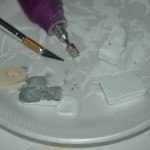
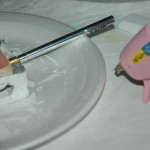
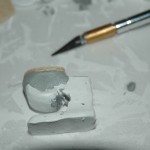
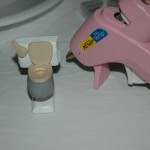
The next step was to create the toilet because that and the tub are the two most important things in any bathroom. I decided to use clay to construct the base of the toilet and use basswood to construct the seat. I created the bottom of the toilet (the bowl) first and then separately I created the tank. I struggled with the shape of the toilet so I used my own as representation. I then attached the seat and the lever giving it a real feet. I painted the toilet all white except for the lever as well as the plumbing that will be attaching it to the wall. I used clay to create the plumbing attachments to make it more realistic because I could shape them however I wanted. This is my first experience with clay and I have to admit it is a lot harder than I thought it was going to be but I have enjoyed learning.
I then wanted to focus on my accessories, the things that would make my bathroom individual. I had decided that I really liked the look of bowl sinks that sit on top of the counter. I loved the idea of the sink looking removable so that is what I decided to do. I shaped white clay to make my bowl sinks, I then added a hint of silver clay for the drain. I created the faucet from silver clay which will attach to the wall and created knobs from basswood. I painted the knobs white to offset the sink and faucet. I also wanted to make some things that you would find in any bathroom to give it a lived in feel so I made a few towel racks and hangers using silver clay and a small plastic circle.