Tag Archives: Photography

Cherry Chocolate Banana Bread

      Cherry Chocolate Banana Bread

½ cup butter
1 cup sugar
2 eggs, beaten
3 mashed bananas
1 ½ cup all-purpose flour
1 teaspoon baking soda
¼ cup chopped nuts
¼ cup miniature chocolate chips
¼ cup chopped maraschino cherries
1 teaspoon of coconut extract

Preheat oven to 350 degrees F.

In a large bowl, cream butter and sugar until smooth and fluffy. Stir in beaten eggs, mashed bananas, flour and baking soda until well blended. Next add nuts, chocolate chips, cherries and coconut extract, stirring until evenly combined.

Grease a 9×5 loaf pan or spray with non-stick cooking spray. Pour batter inside pan and bake in 350 degree F oven for 60 minutes or until you can insert a toothpick in the center of the loaf and have it come out clean.

Remove from oven and allow to cool for 10 minutes before transferring to wire rack or serving plate.

Simple but Delicious Banana Bread


        Week 1 Banana Bread

1/2 Cup Vegetable Oil
1 Cup Sugar
2 Eggs, lightly beaten
3 Ripe Bananas, mashed
2 Cups All-Purpose Flour
1 Tsp. Baking Soda1/2 Tsp. Baking Powder
1/2 Tsp. Salt
3 Tbsp. Milk
1/2 Tsp. Vanilla Extract
Add desired amount of cinnamon if wanted

Preheat oven to 350 degrees F. Place oil in large bowl. Add sugar while beating lightly, Add eggs and continue beating. Add mashed bananas and beat just until moistened. Set aside. In a separate bowl, combine the flour, baking soda, baking powder, and salt. Add the dry mixtu

re to the banana mixture and beat just until moistened. Add the milk and vanilla extract and continue beating just until mixed. Pour mixture into a greased and floured 9×5 loaf pan and bake 50-60 minutes or until toothpick comes out clean.

Cherry Chocolate Banana Bread

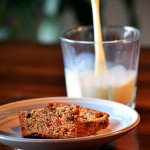
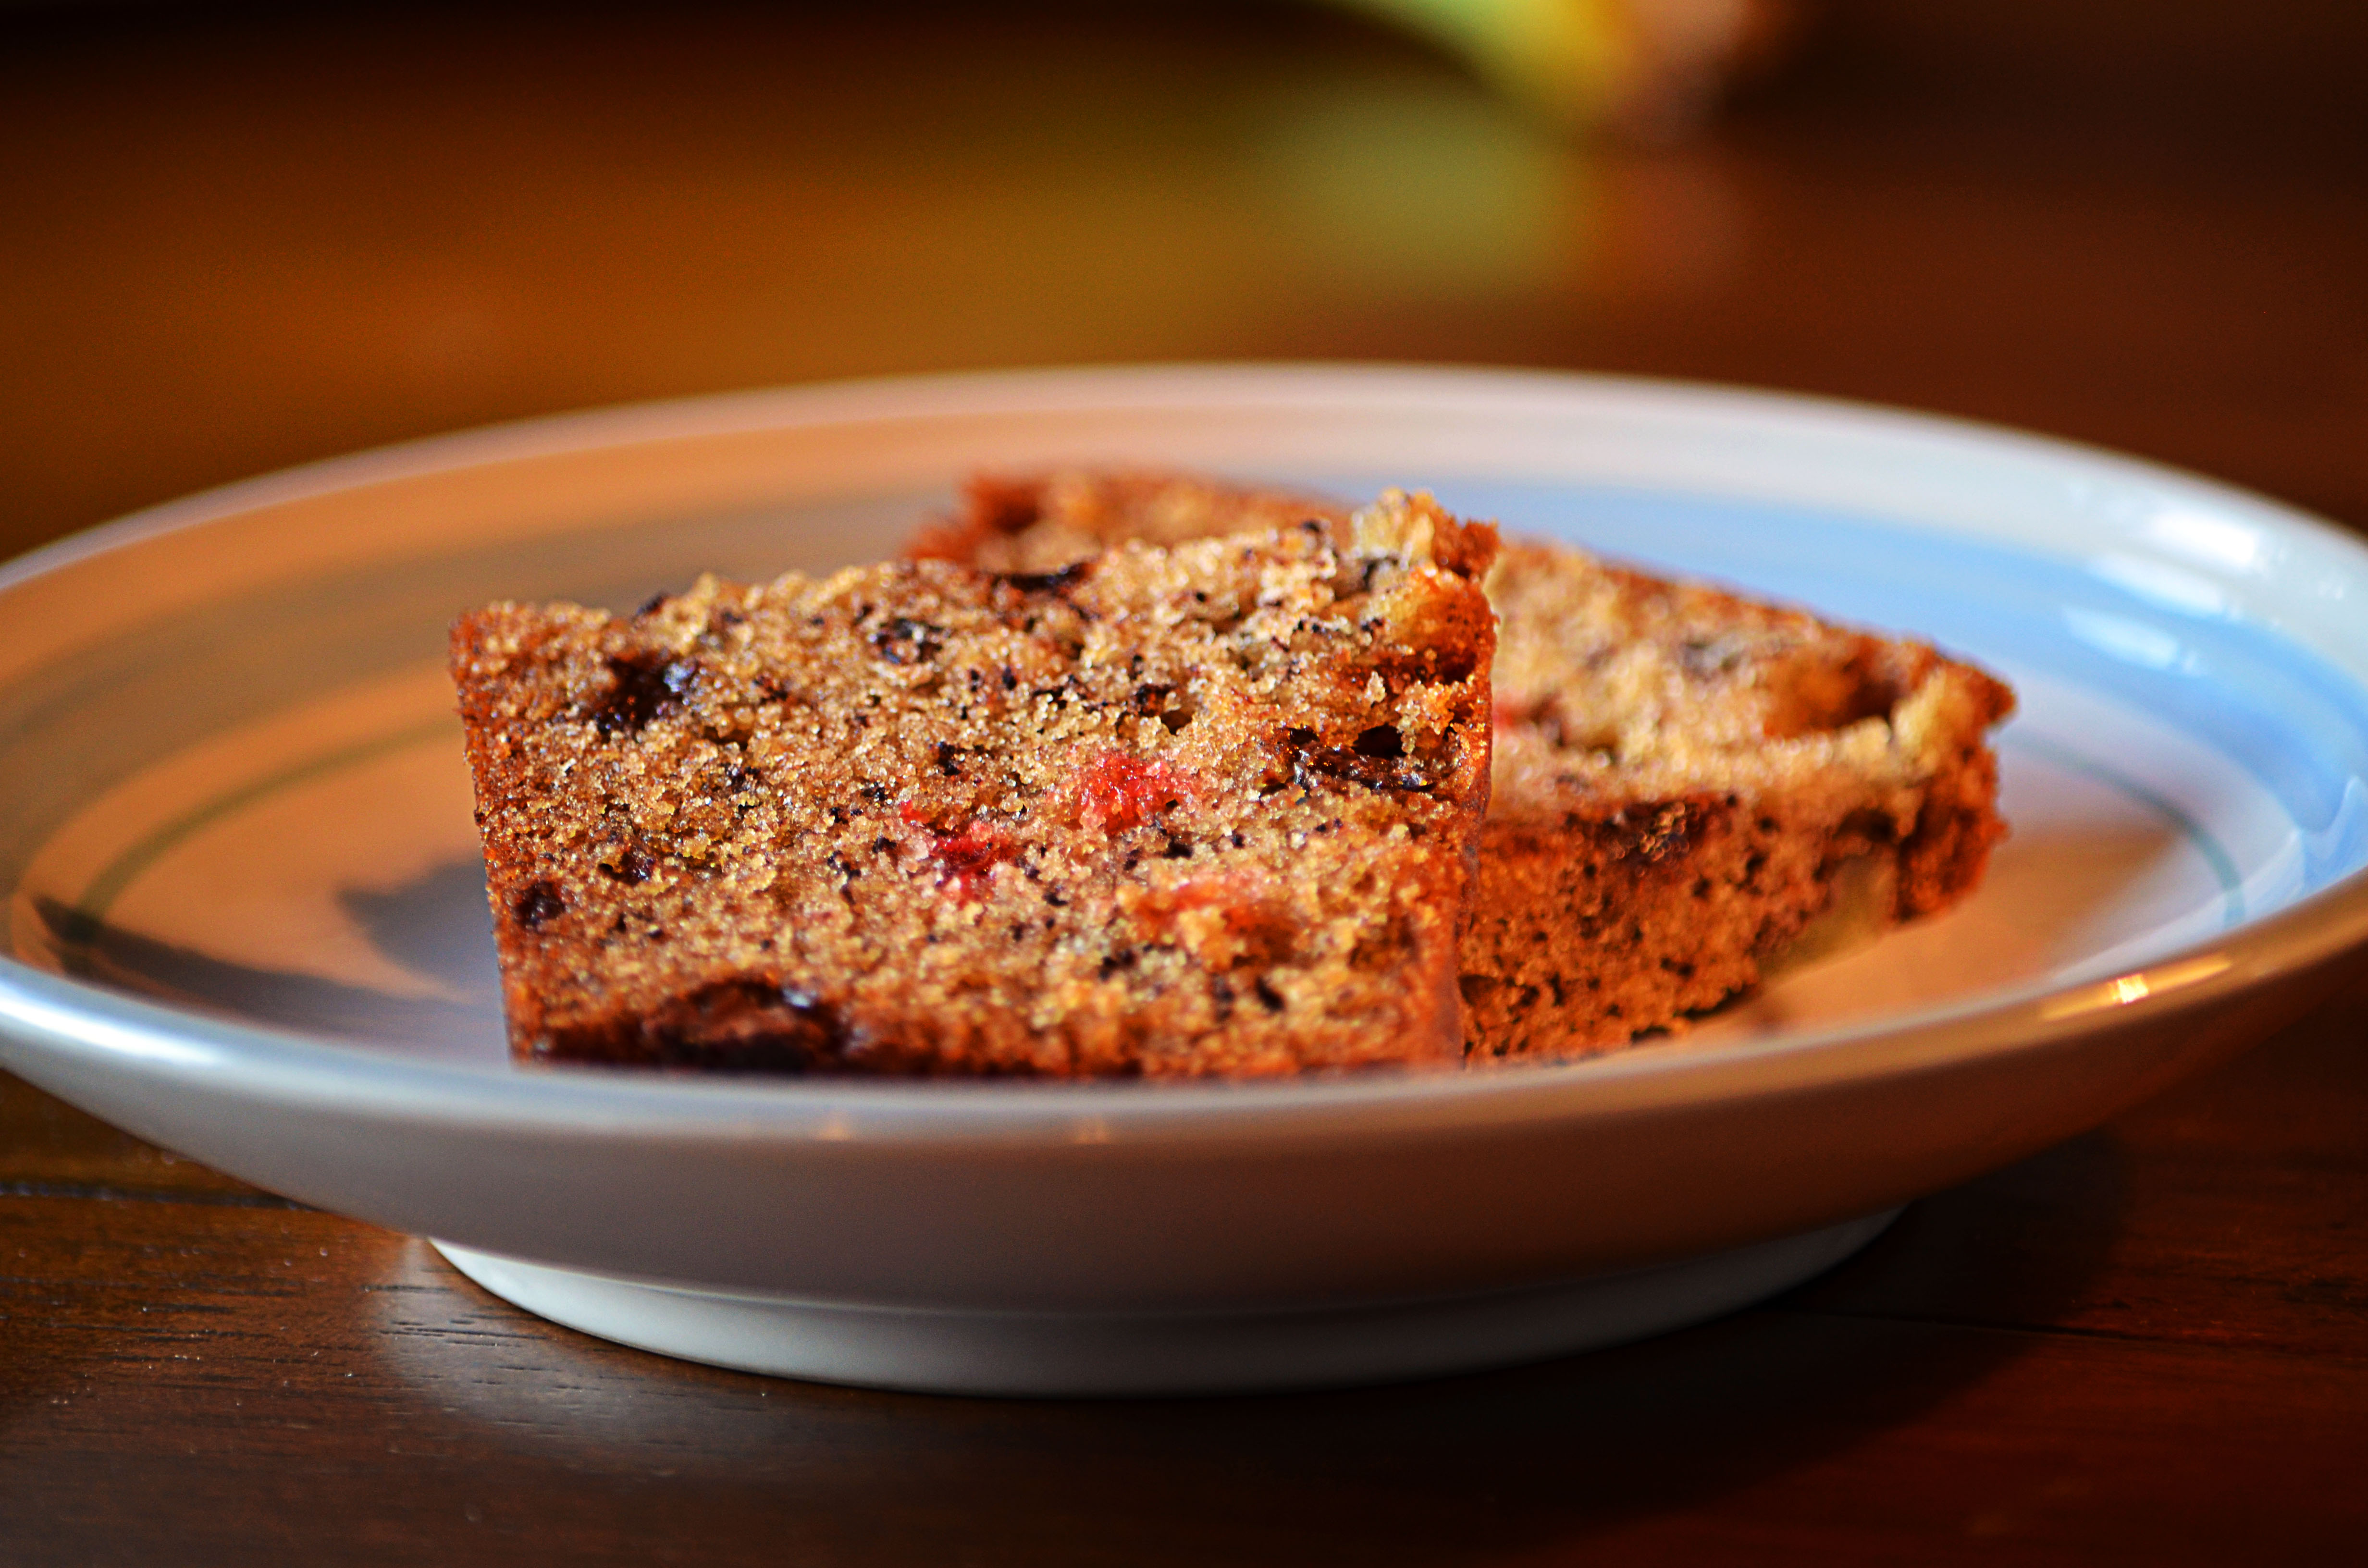
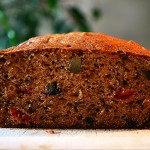
This week I have chosen to focus my food photography on recipes and lighting basics. I have learned that recipe shots are the most common form of food photography and that the photos can be of the finished dish, the ingredients used to make the dish or the preparation of the dish. I also learned the different types of basic lighting and what kind of image you will get depending on where you place the light. I continued to use a tripod and a cable release cord. I sliced the bread and arranged the subject/s where I wanted them to be. I placed the bread on the kitchen table near the sliding glass door again and I chose to use the side lighting technique because after looking at the way the bread looked when I tried

other techniques I had liked this one the most. It made the bread look like it has a warm feel to it and made it look extremely appetizing. I placed a basic desk lamp to the side about a couple feet away and began taking multiple different photos. After getting a few photos that were different than last weeks I began editing them in photoshop. This time I adjusted the levels, applied a high pass filter and bumped up the contrast and the saturation just a little.

First Banana Bread Photos

Simple but delicious Simple but delicious

This was my first time trying out food photography. I can definitively say that I am quite happy with the results for not having any experience in this field of photography. For this week I decided to focus on natural lighting and websites, blogs and ebooks style of photography. I read in my book that most of the food photography photos you see are normally taken in natural lighting. I learned that the best place to photograph is in the garage. This is because you can control the amount of light you let fall onto your subject. I however didn’t want to photograph my bread in the garage… It just does not seem sanitary in the dirty garage. So after reading a few small sections in my book I put what I had read to the test. I waited for the bread to cool down before I started photographing it. I’m using a Nikon D5100 to shoot my photographs. I set up my bread on the kitchen table near the sliding glass door and made sure I had plenty of room to start my photography shoot as well as making sure there wasn’t much that would be showing up in the background. I started to arrange the bread at the angles that I wanted it to be viewed and set up my camera to a tripod. I used a cable release cord to make sure my photos would turn out 100% sharp since I was shooting in manual mode with no flash and the shutter speed was pretty slow. When I decided I finally had some photos I was happy with I began editing my photos in photoshop. I really don’t like to over edit my photos and would rather keep them looking as natural looking as the original image. All my editing consists of is adjusting the levels, applying a high pass filter and cropping out the unwanted content.